Occasional musings
Film weekend pt 3 - Olympus mju zoom
Continuing my weekly project of putting a film through each camera in my collection (in turn), this weekend I broke out a fresh roll of TMax-100 and loaded it up into my Olympus Mju Zoom.
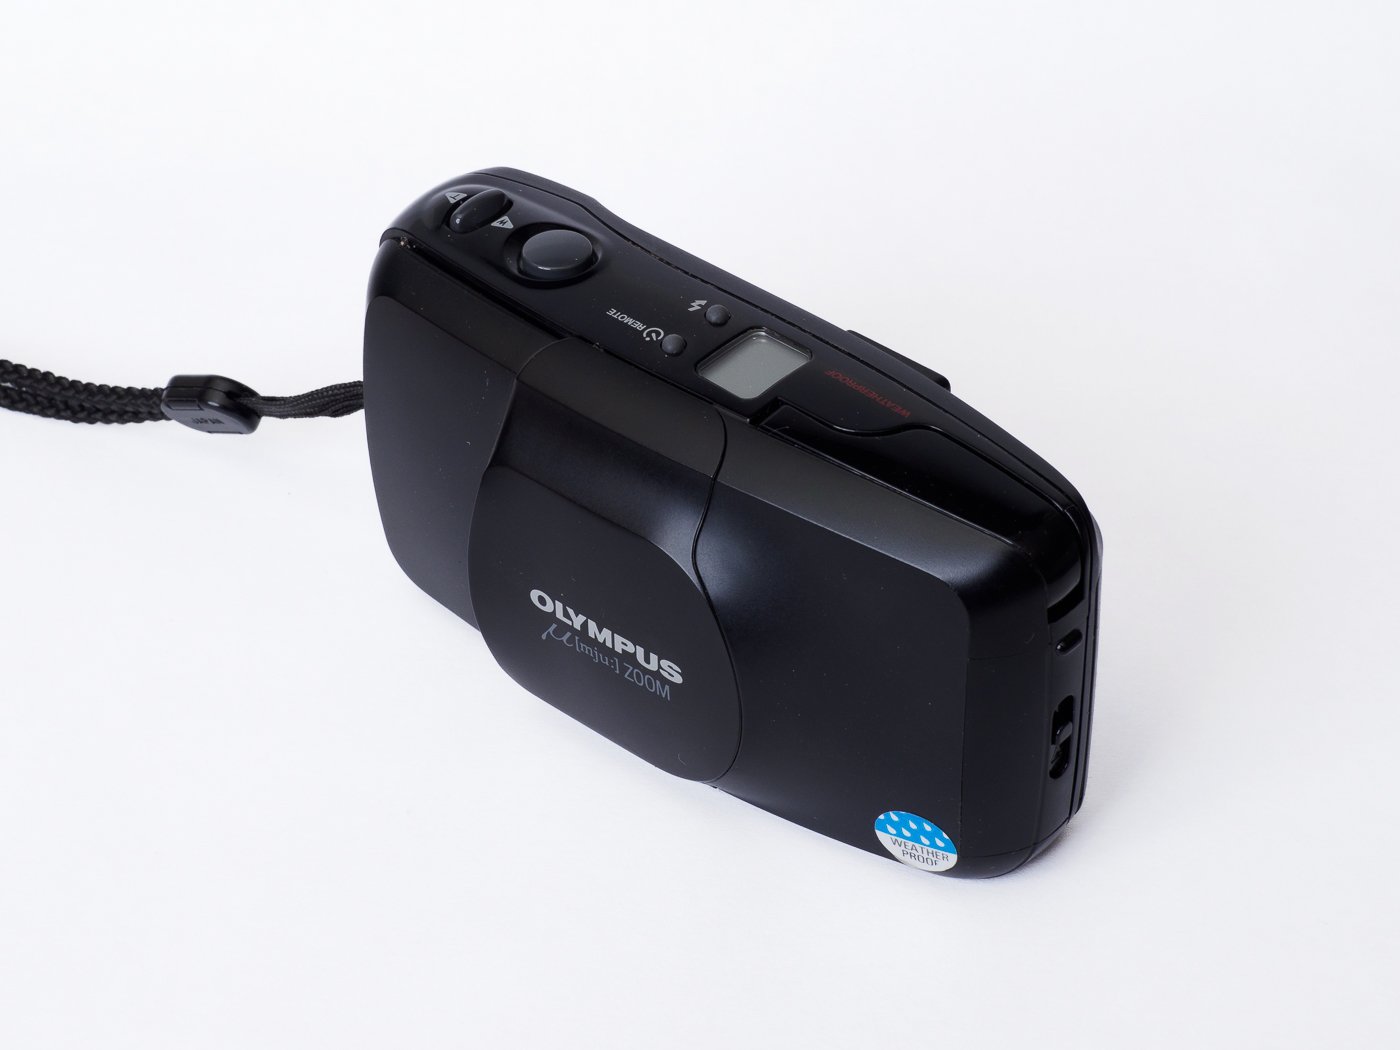
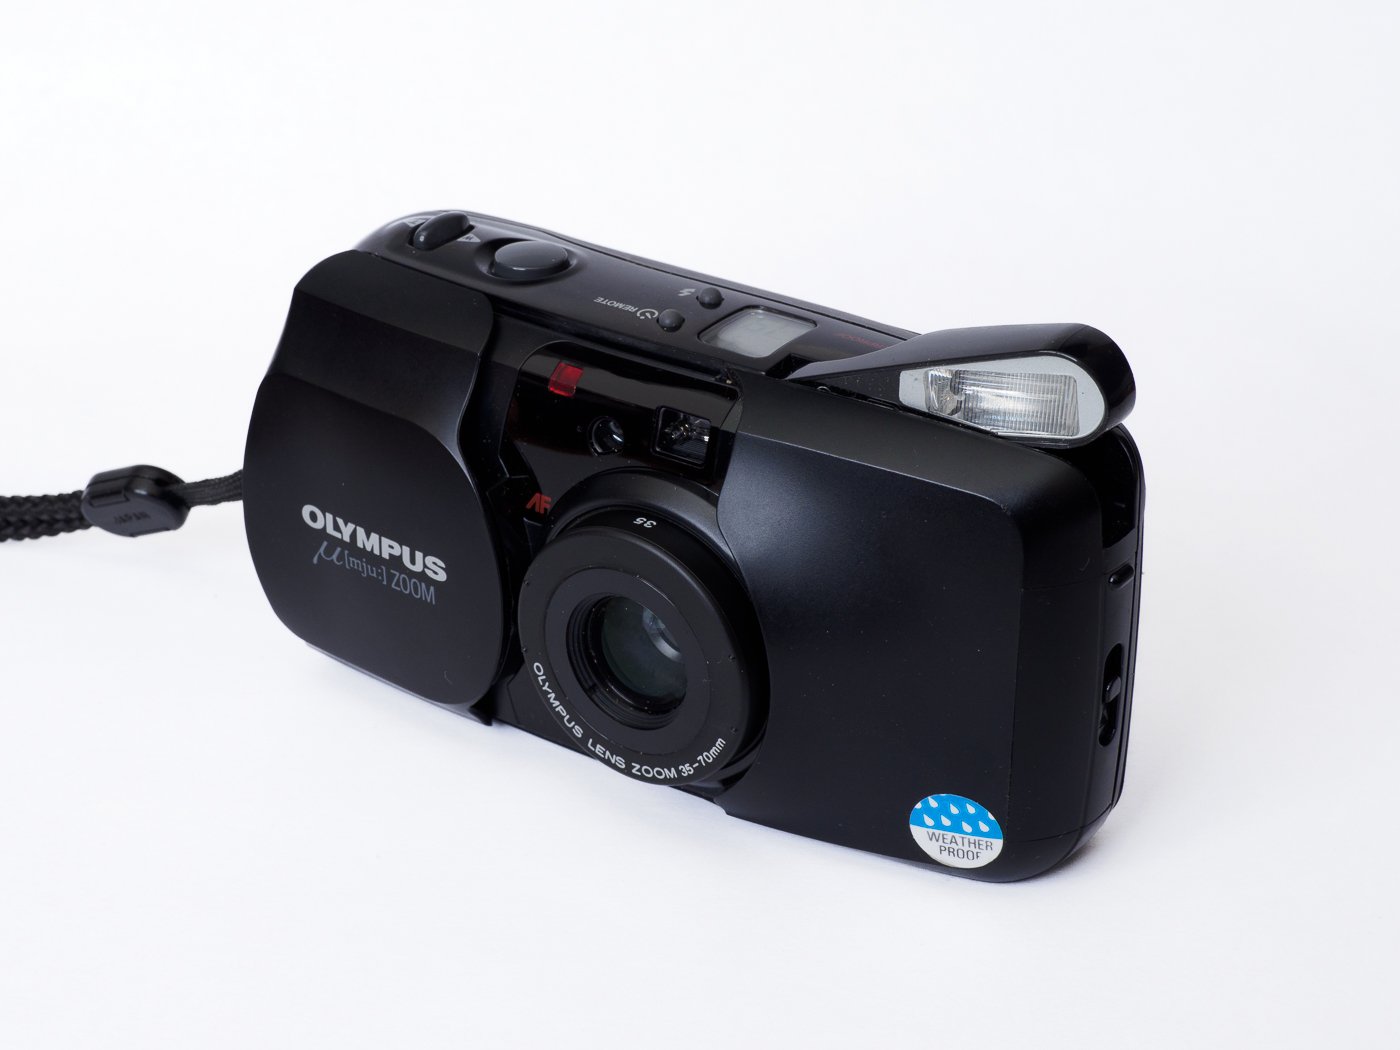
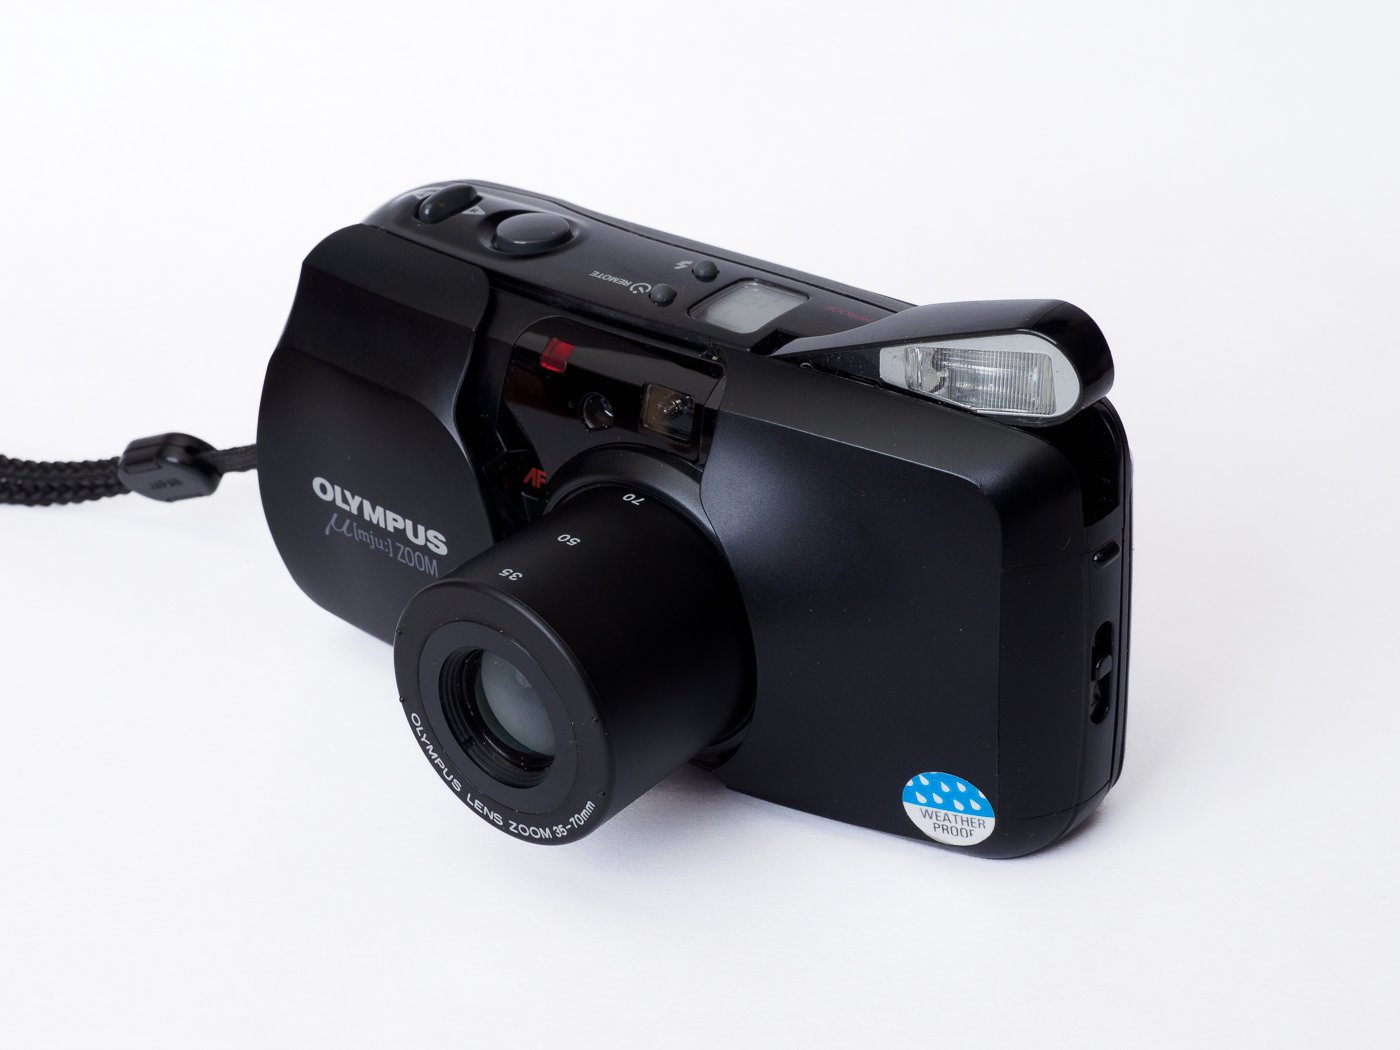
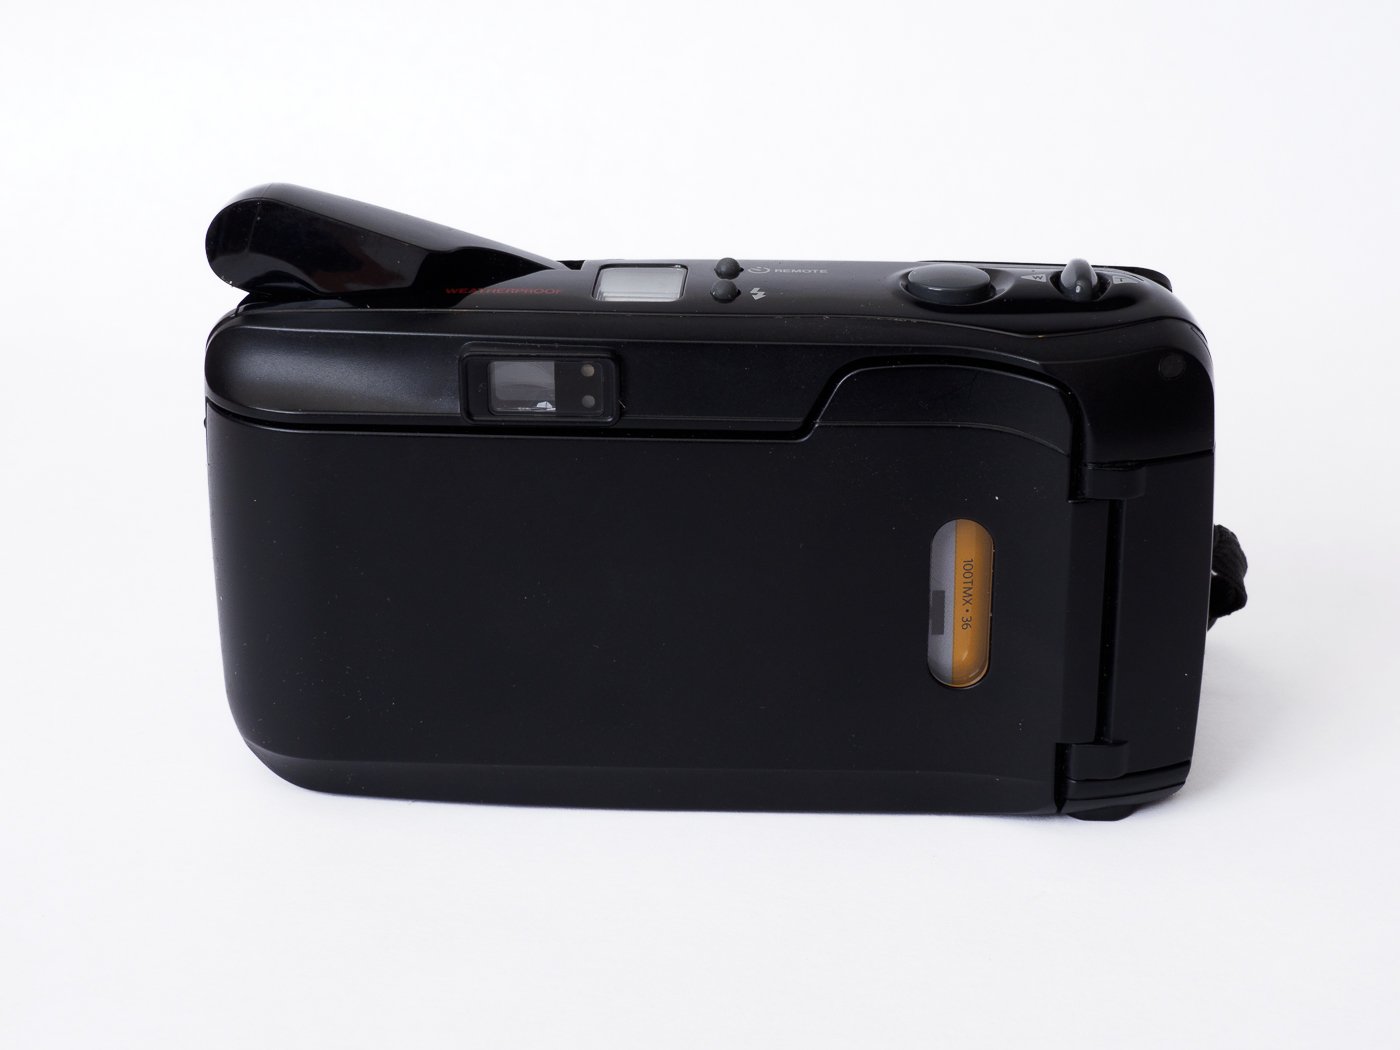
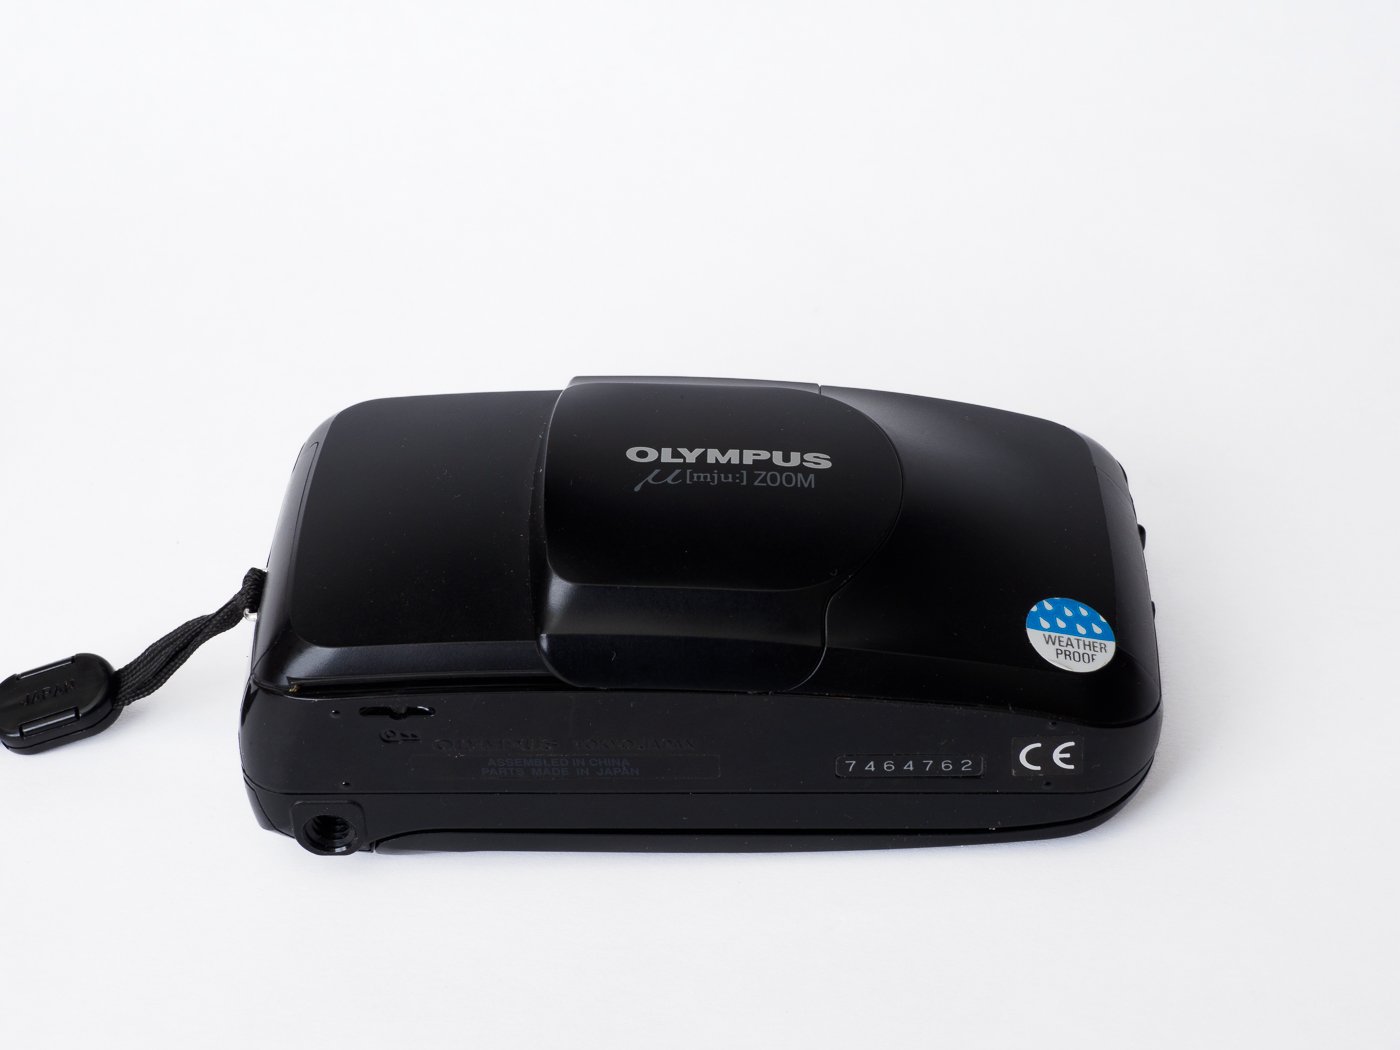
Olympus Mju Zoom
I bought this camera back in 2013 when my camera collection was just starting - in those days the goal of the collection was to try to re-purchase a copy of any camera that I had once owned, used, and enjoyed. I had a mju for a while back in the 1990’s, and used it as my travel/carry anywhere/point and shoot camera, and had fond enough memories of it and the shots from it to want to get a replacement for my collection. So off to eBay I went and paid the princely sum of £4.99 for a mint-condition example complete with original case. Those were the days.
I picked this camera for this weekend’s film project by way of contrast with the fully manual shooting I had done the previous two weekends with the 35RC and the Rollei 35 - this camera features auto everything. Auto film load (and rewind), auto focus, auto exposure, auto flash… The user controls are limited to zooming and overriding the flash mode, and half-pressing the shutter to lock focus (and exposure?).
This is the original model, with 35-70 zoom lens (whether that’s the exact same model that I owned back in the ‘90s I’m afraid I don’t remember - but it certainly feels very familiar).
Right from the start, I seemed to be fighting the camera. Getting it to grab the film to auto-load it took 4 attempts (though to be fair, it was very good at reporting that it had not worked). The flash is strong enough to generate complaints from my subjects, even in “fill” mode - and has to be turned off manually every time the camera is opened. Pressing the pop-up flash back down might be expected to turn off the flash, but no, it turns off the whole camera, and if you happen to have your finger over the flash when you open the camera to turn it on, then it’s going to turn right back off. The viewfinder is pretty small, and never seemed to be where my eye expected to find it when raising the camera for a shot. But I think the most annoying thing about the camera is the complete lack of feedback about what settings it might have selected for you.
I guess I’m just used to more manual/enthusiast-level cameras where knowing your shutter speed and aperture are second nature, and while I didn’t necessarily expect to be able to override the auto settings on a camera like this, some kind of hint about what shutter speed it was going to use before taking a shot would have been helpful. I suppose had I left the flash in auto mode I might have had fewer blurry photos… and maybe 400asa film would have been a better match too.
I haven’t finished the film yet (that in itself may something about how (un-)inspired I was by this camera - when I do I expect another issue to surface, in that the auto-rewind will probably not leave a tail for me to use when loading the film for development. I was thinking of sending some films away to be processed professionally to see how that compares with the results from my home developing, so perhaps this film will be the first candidate for that. Or I can try to make a widget for pulling film headers out of canisters - I don’t suppose it’s that hard. Back in the 1970’s when I developed a lot of film I used to be good at opening film canisters in the dark, but newer canisters seem to be a lot harder, and now that I have an Agfa Rondinax to do all my developing without any darkroom, having the film leader left out on rewinding makes life a lot easier.
So, I guess the jury is still out until I see the photos, but at the moment this camera is my least favourite of any I have used in this project so far, and the only one where I am seriously wondering whether I should sell it. Especially when I looked on eBay to see what they are going for these days - I wish I had bought more film cameras back in 2013!

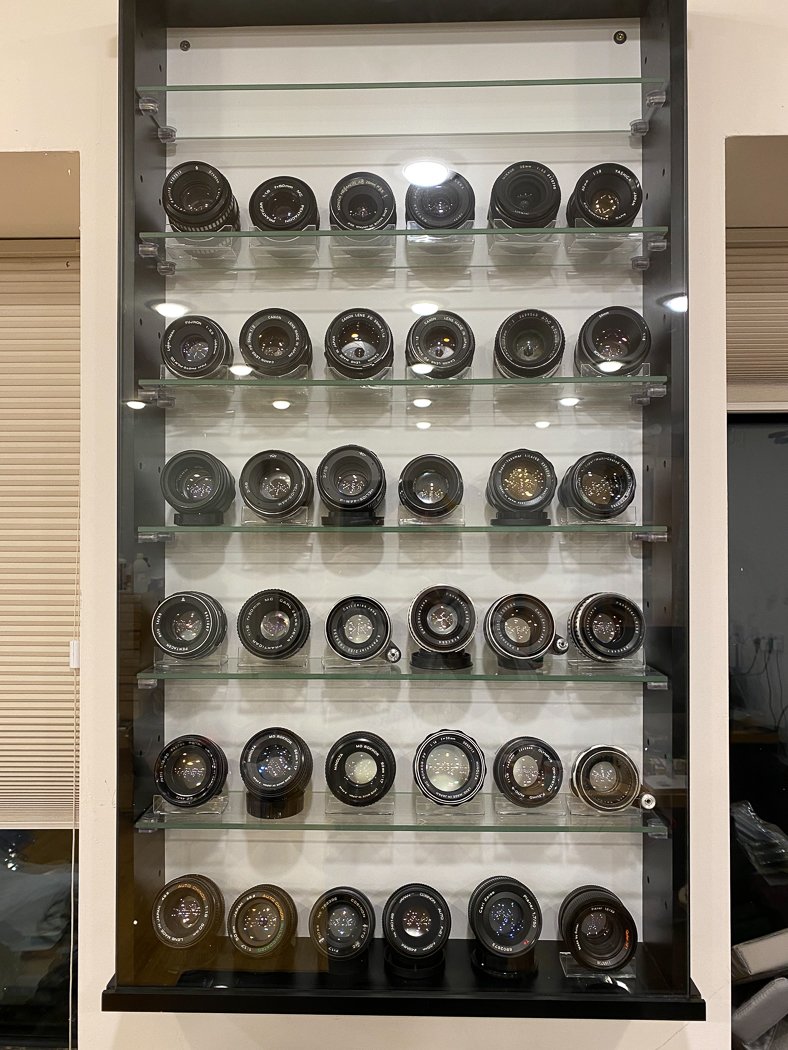
Bending Acrylic
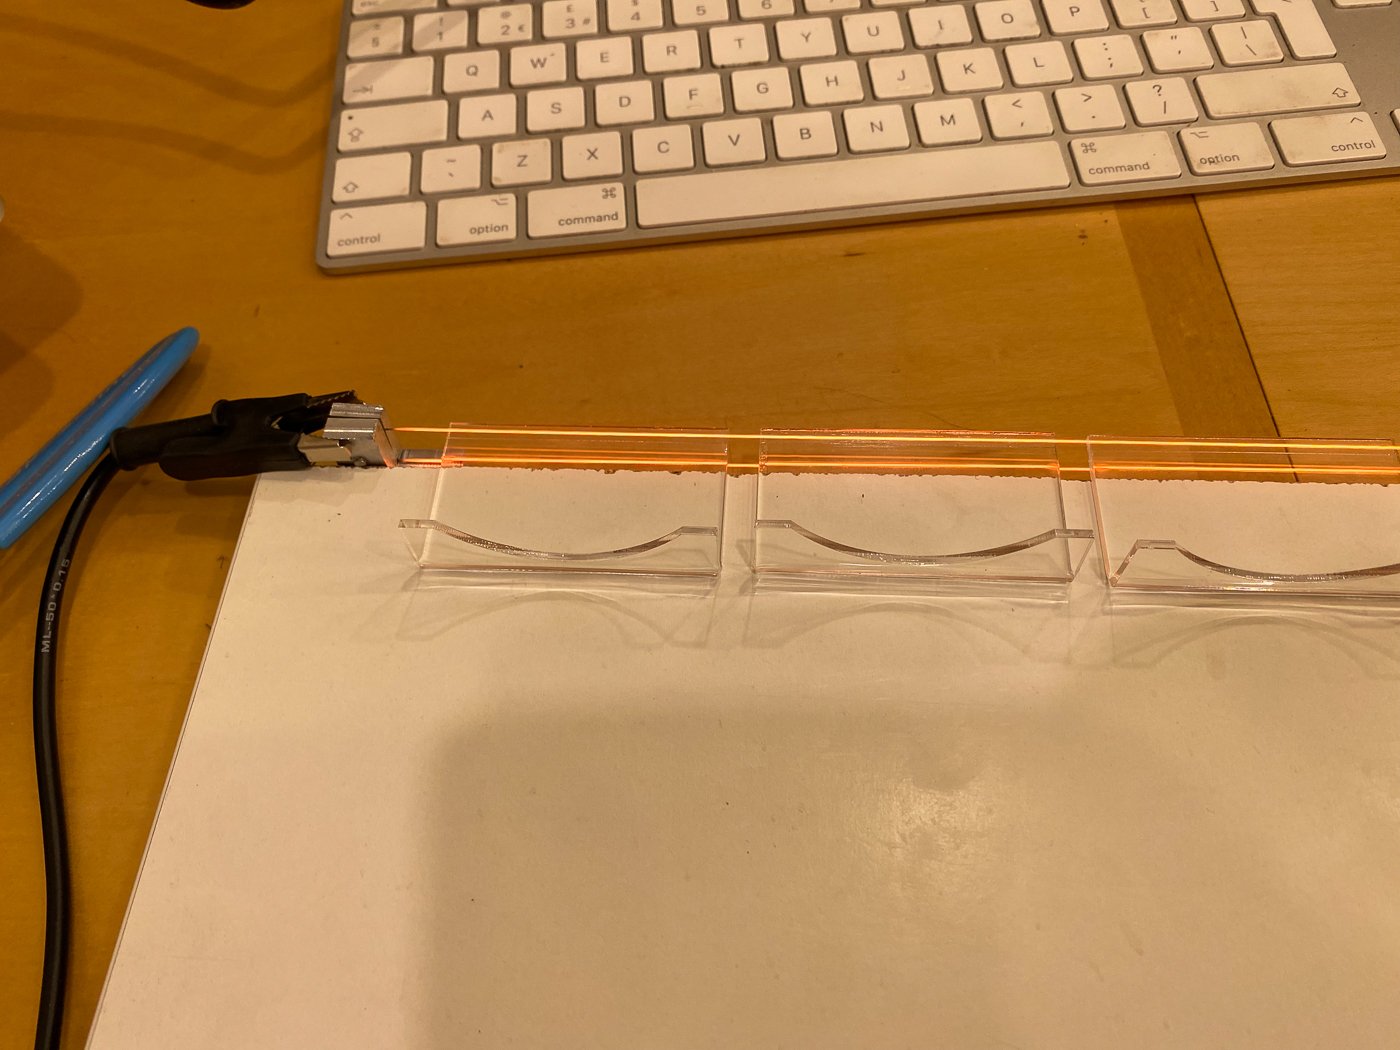
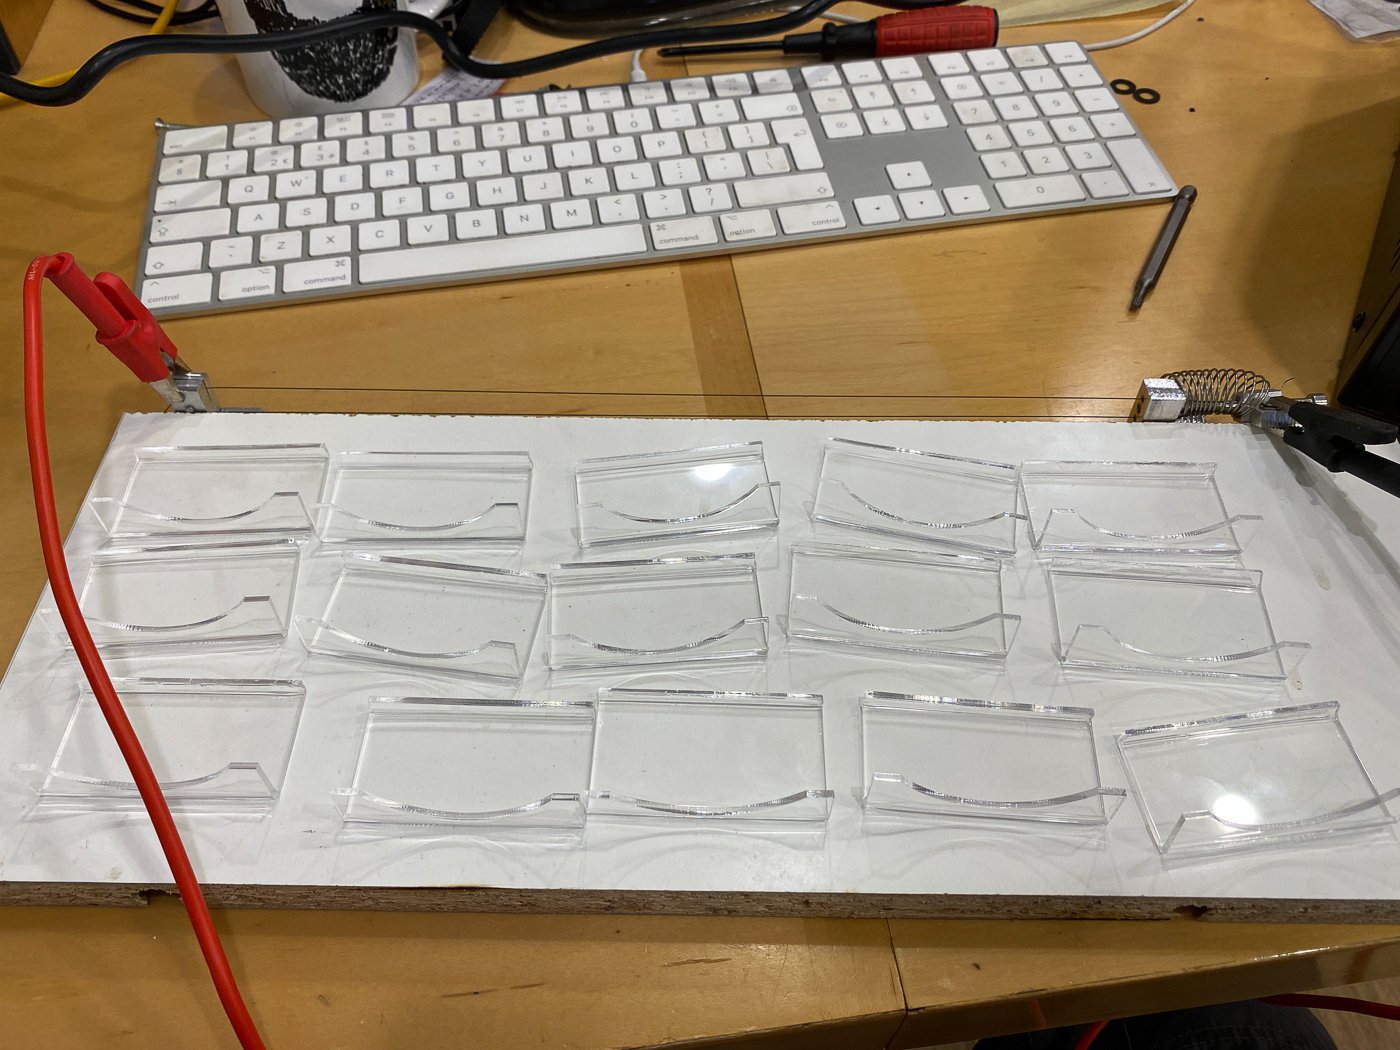
I built a fixture for bending acrylic sheet a few weeks ago, but today I actually found my first use for it - to make stands for lenses for storage in my new display cabinet.
I wanted my (growing) collection of 50(ish) mm prime lenses to have a new home where they would be on display (because I think they look pretty - others may disagree), but easily accessible (because I intend to use them) and protected from dust and humidity (ditto) . I had wondered about making a cabinet, but on researching prices for tempered glass shelves I decided it was better to buy one “off the shelf” as it were, with a view to adapting it later if I decided I didn;t like the way it worked.
The one I bought is okish - I was not expecting great things, and I didn’t get htem - but it will do. After all it’s the contents that matters, not the cabinet. And after the frustration of getting it together, square, and mounted on the wall it actually looks ok and does the job. But to add all the lenses required a decision on how they should stand. I could have stood them all upright, but may do not have end-caps and would not therefore stand completely upright. I could lie them on their side but they might roll, and taking one out to use it could then be nerve-wracking. For those that have end-caps, the end-cap itself makes a reasonable stand (as well as providing a good place to store the end-cap near the lens), but for the rest a simple stand was required.
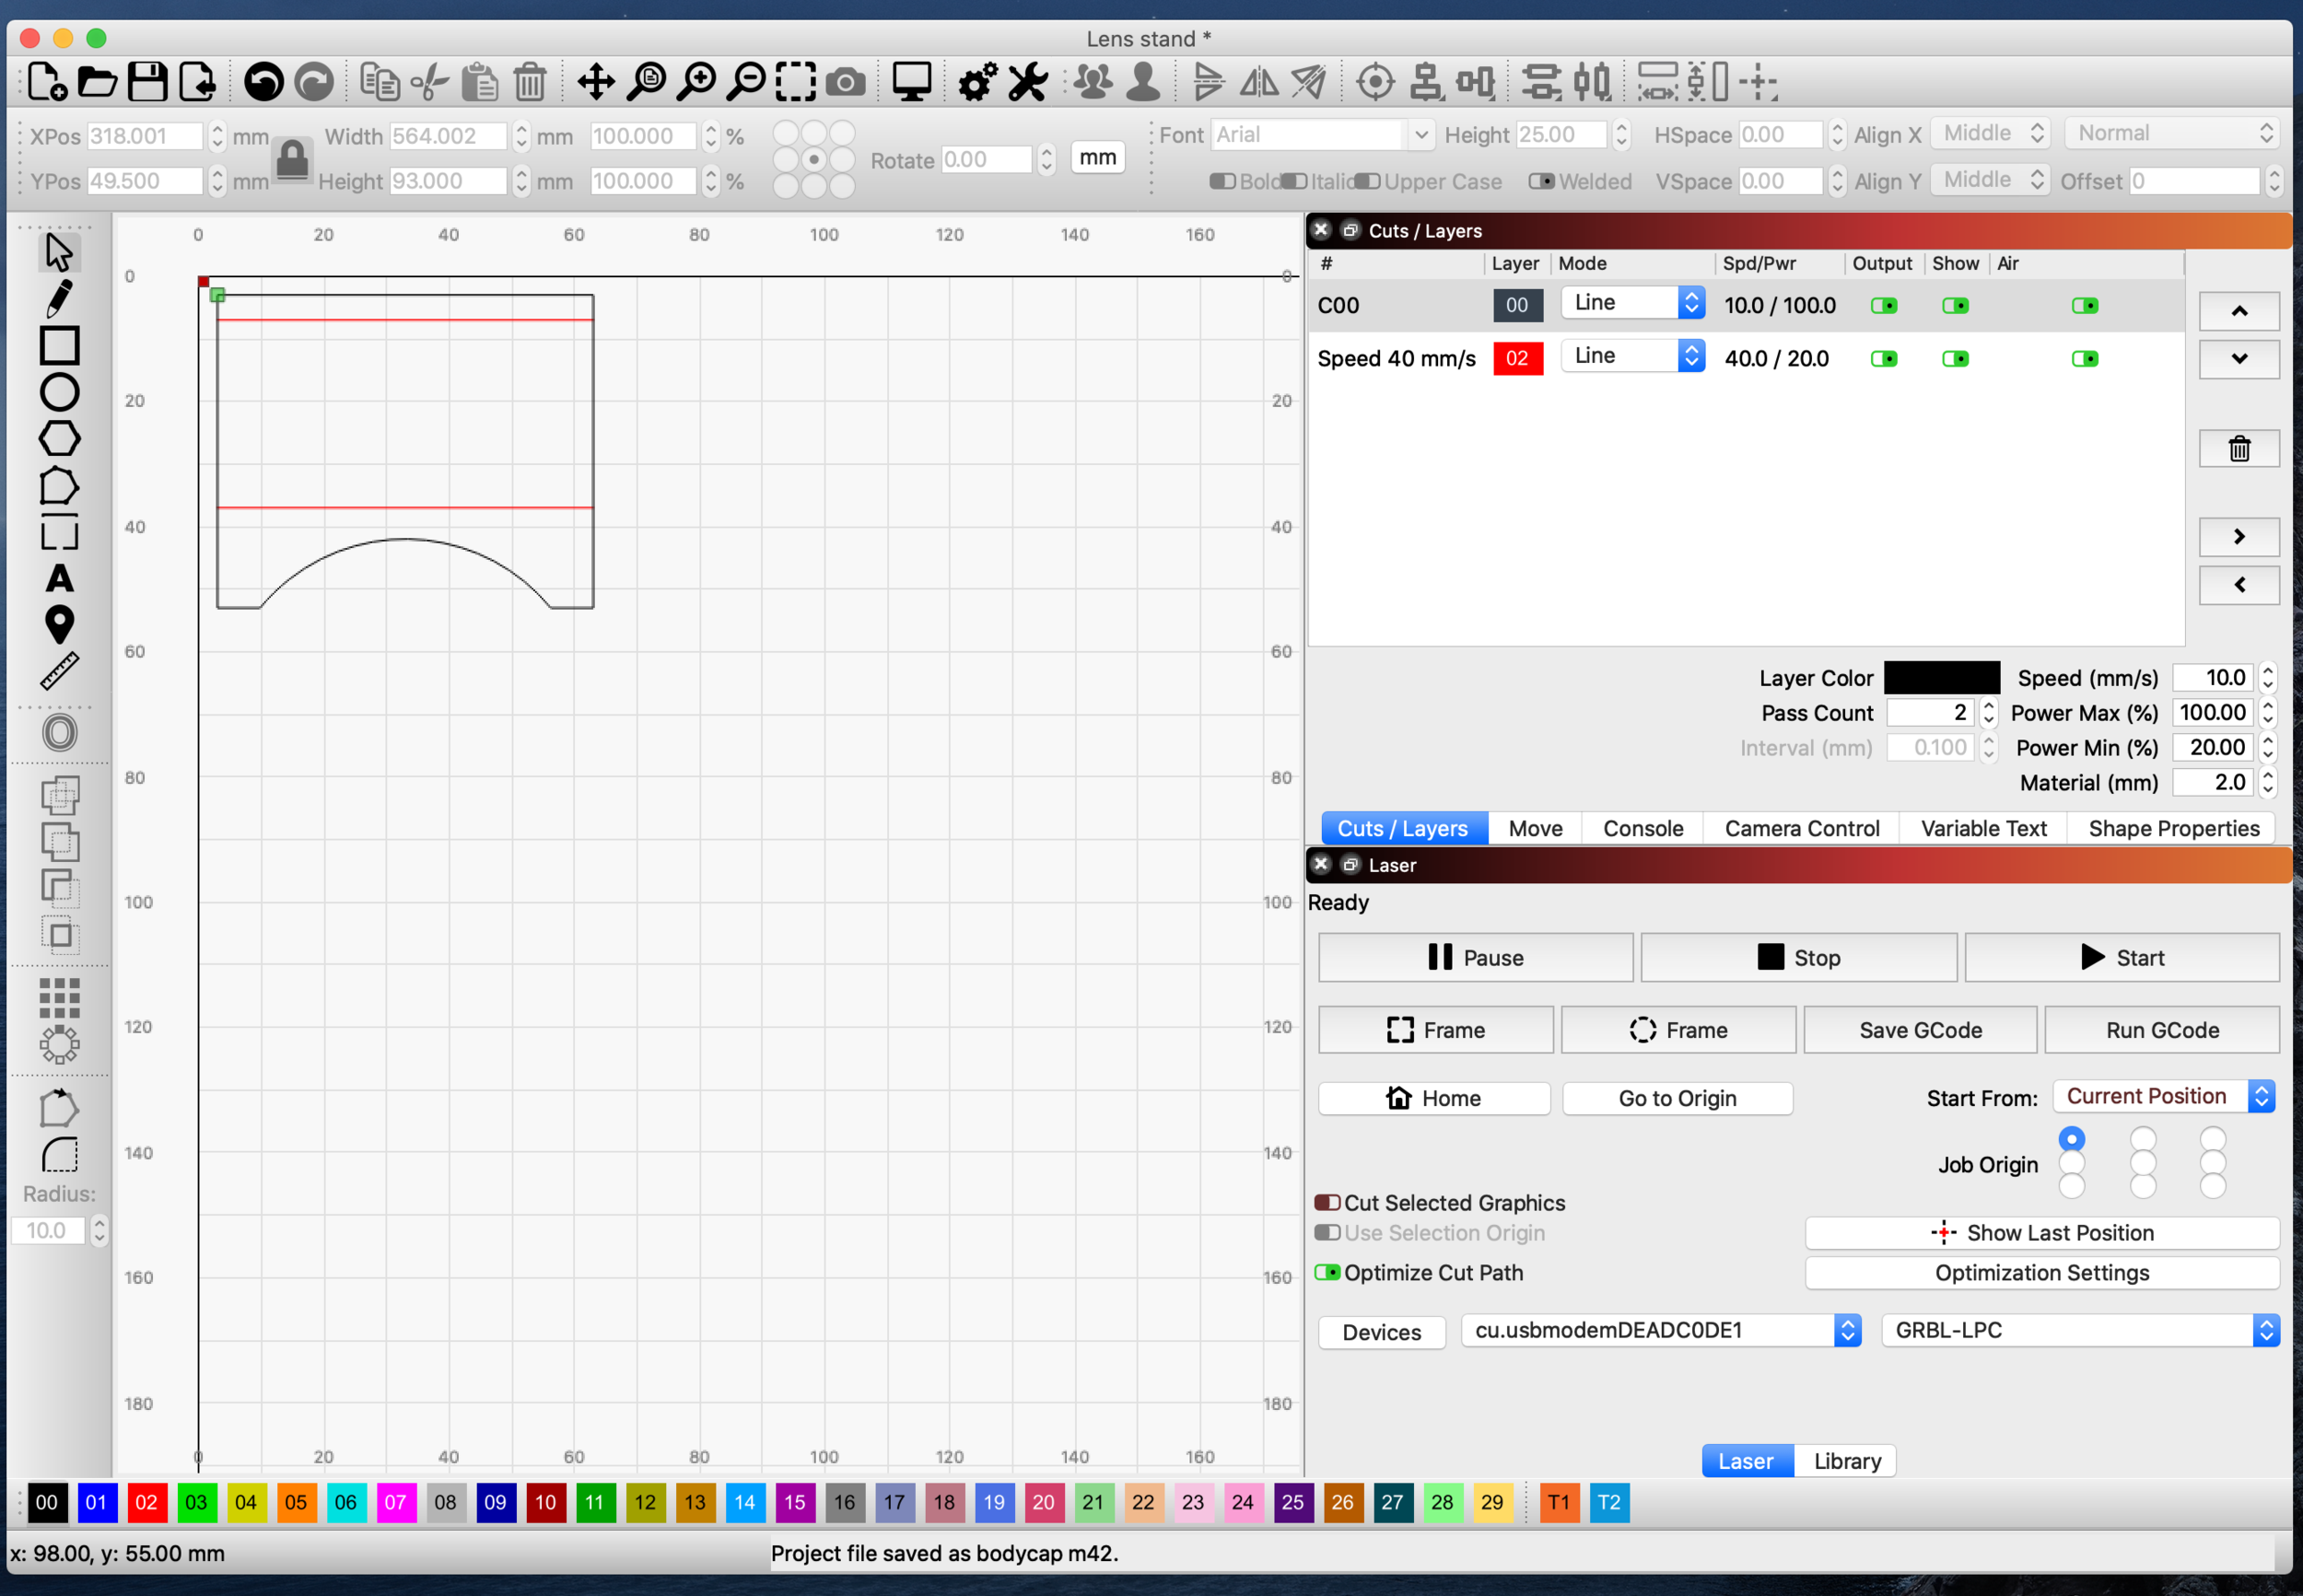
Now that my laser cutter is finally working reliably, it only took a few minutes to knock together a design (in lightburn) and cut out a test blank from 2mm clear acrylic (perspex). It took quite a bit longer to remember where I had stored the acrylic bender. And then under a minute to make each required bend.

Optical limit switch woes

One of the limit switch modules from Amazon
I’ve been putting the finishing touches to a motorized bed/Z-axis for my (heavily-modified) K40 laser cutter, and the last thing I needed was to move the limit switch from the bottom of the travel to the top - that way I can adjust the Z zero to be the point where the bed is at the laser focus, and the required Z position is then just equal to the material thickness. This seems to be the best configuration for Lightburn to work with.
There’s very little space to spare inside my modified K40 enclosure, and there’s not a lot of clearance between the bed and the Y axis rails or anywhere else that I might be able to mount a limit switch, so my options a little constrained. The optical limit switch module I had was too large, and any micro-switch would bet in the way of being able to remove the bed, so I set about looking for smaller optical limit switch solutions.
My first plan was to use one of the limit switches that came with the original K40 X/Y axes, which I had removed long ago. This almost worked, but these switches are very small with a very narrow slot, and it wasn’t going to be easy to get everything lined up reliably.
My next plan was to buy an optical detector unit from RS-Online that seemed like it would be perfect - small enough to fit but with a reasonable gap. But when I wired it all up (using the same schematic as the K40 limit switch, where it worked fine) I just could not persuade my controller to recognise it. I could/should have debugged it I suppose, but I decided to go straight to plan C and buy some cheap optical limit switch modules from Amazon for next-day delivery. 5 prebuilt modules for less than the price I had paid for components for two from RS, no soldering required, and hopefully would just work…
Well, some soldering was required as I had to remove the connector on the back and solder wires in place, but it mounted very easily, and initial testing seemed great. But it soon became clear that once the limit was triggered, it was not (reliably) clearing. I tried a couple more modules from the pack of 5, and all had similar behaviour. So much for the “just work” theory.
I was about to give up for the day when I decided to trace the circuitry on the modules to see what was different from the working circuit I had in the K40 module. There was a bit of extra circuitry devoted to driving an LED to signal the state, but the only significant difference was the presence of a pull-up resistor to 5v from the collector/output signal, which is not present in the K40 limit switch.

The top resistor in this picture is the pull-up

Resistor removed. Yes, I could have unsoldered it, but snipping it off was faster.
I have no idea why this resistor caused the problem that it did - but snipping it off seems to have reslved the problem and I finally have an operational Z-axis limit switch.

Z axis limit switch in place.

Repairing a Rollei 35

One of the cameras in my collection that I’ve been particularly wanting to get back in working order is my uncle’s old Rollei 35. It’s a quite distinctive little camera, extremely compact for a full-frame 35mm camera, with some unusual features like a retracting lens, a winder on the left rather than the right, and controls scattered around the body (including the base) wherever they could be squeezed in. Surprisingly heavy for its size, it’s all metal construction and feels like a precision instrument.
It takes a PX-625 battery, no longer available because of the mercury content, though it only needs the battery to operate the built-in light meter - it can operate just fine without the battery. Just as well really since the battery can only be changed by opening up the film compartment. I have recently bought a PX-625 alternative from Polar Bear Camera to use in this and other cameras of the era from my collection, so I thought I’d see what sort of order the camera was in.
Checking the shutter speeds, everything 1/15s and slower seemed sticky. And looking inside the battery compartment an old battery was present but had leaked a little, so some cleanup was required. Adding the new battery did not seem to work at first, but a little bit of cleaning up contacts with IPA (isopropyl alcohol, not the beer) and it was soon working again. To get the slow shutter speeds working required removal of the top plate (I followed instructions found on YouTube) and a couple of drops of lighter fluid to clean up the gears, then a teeny drop of Nyoil to lubricate, and all the slow shutter speeds sounded about right again. I really should build a shutter speed tester some time - I can’t imagine it would be hard.
When I took the top plate off there was a piece of metal inside - about 2cm long, 3mm right angle cross section - that I could not work out where it had come from. So I reassembled without it - all seems to be working fine for now! I also lost one screw that pinged out of my tweezers as I was trying to put it back in place (moral of the story - keep the workplace clean so that lost screws can be found). I was able to find a suitable replacement in one of th many junk cameras I have lying around.
So now there’s a film in the camera, and just waiting for it to stop raining to take it out and shoot. First impressions are rather mixed - there’s a lovely bright viewfinder but a teeny focus throw and no rangefinder, so I rather suspect it may be better for landscapes/infinity shooting than anywhere where focus might be more critical. And the ergonomics are - well, let’s just say quirky.
These cameras seem to be have quite a popular following and correspondingly high prices, though I won’t be selling mine - for sentimental reasons even if I don’t quite understand the appeal.
Assuming I manage to get out and shoot tomorrow, I’ll update with some photos from the camera itself. For now, pictures OF the camera will have to suffice.

Rollei 35 from below - frame counter and flash shoe mounted on bottom!

Rollei 35 with lens extended
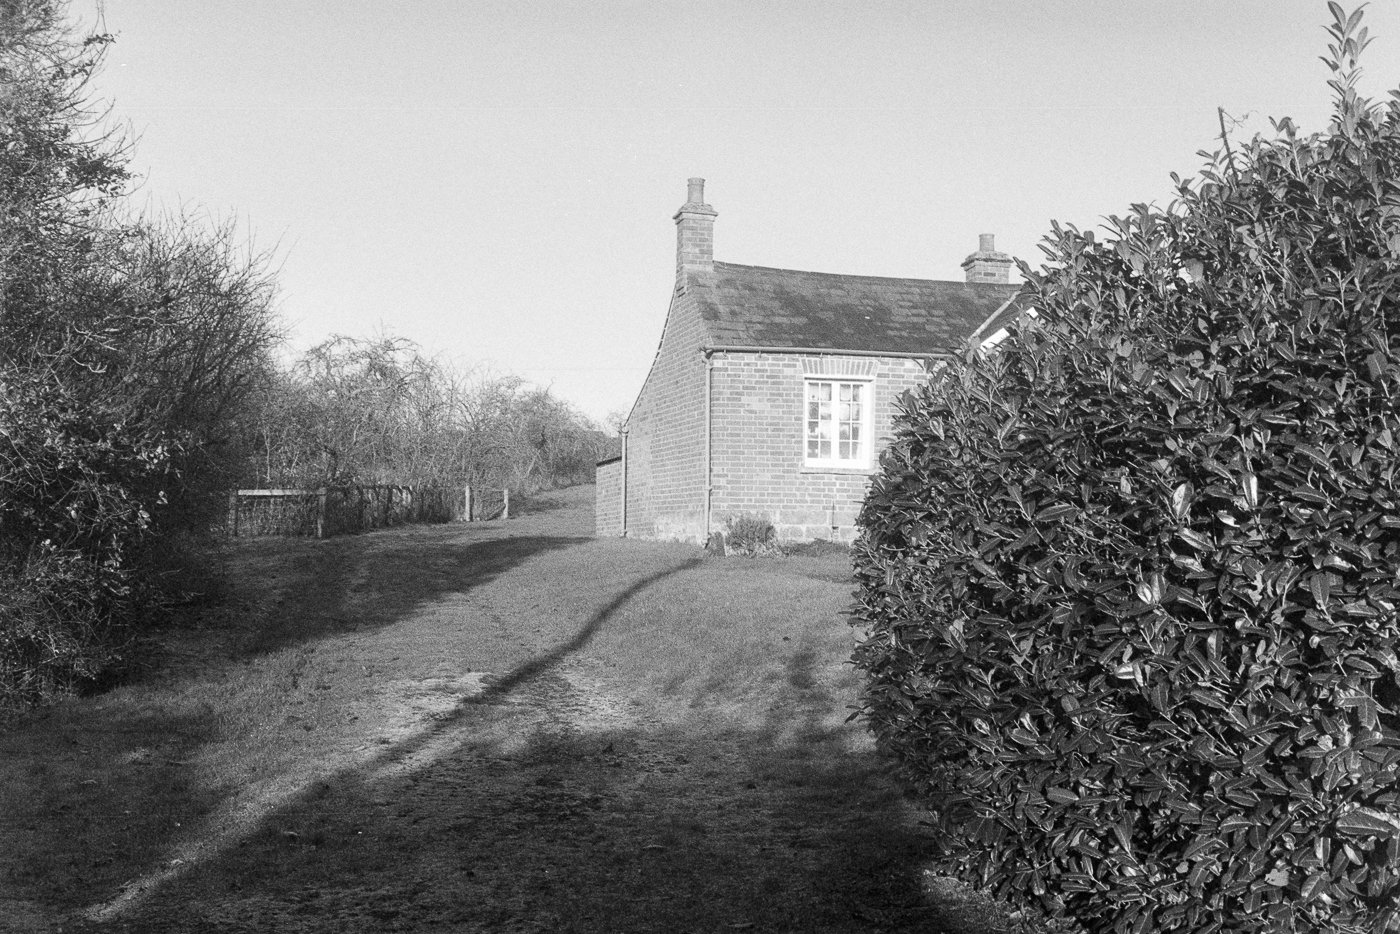
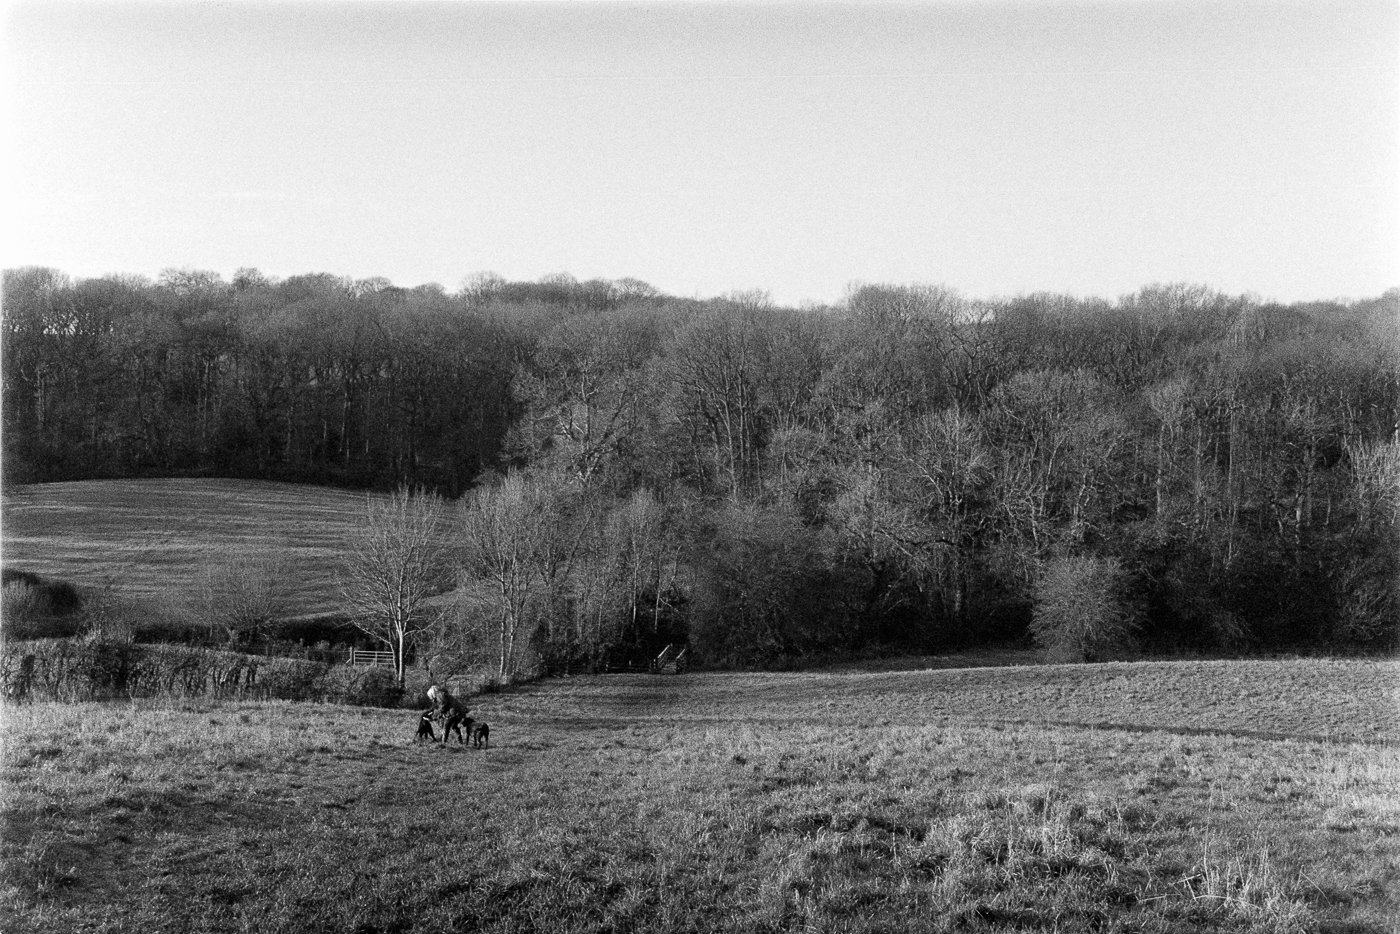
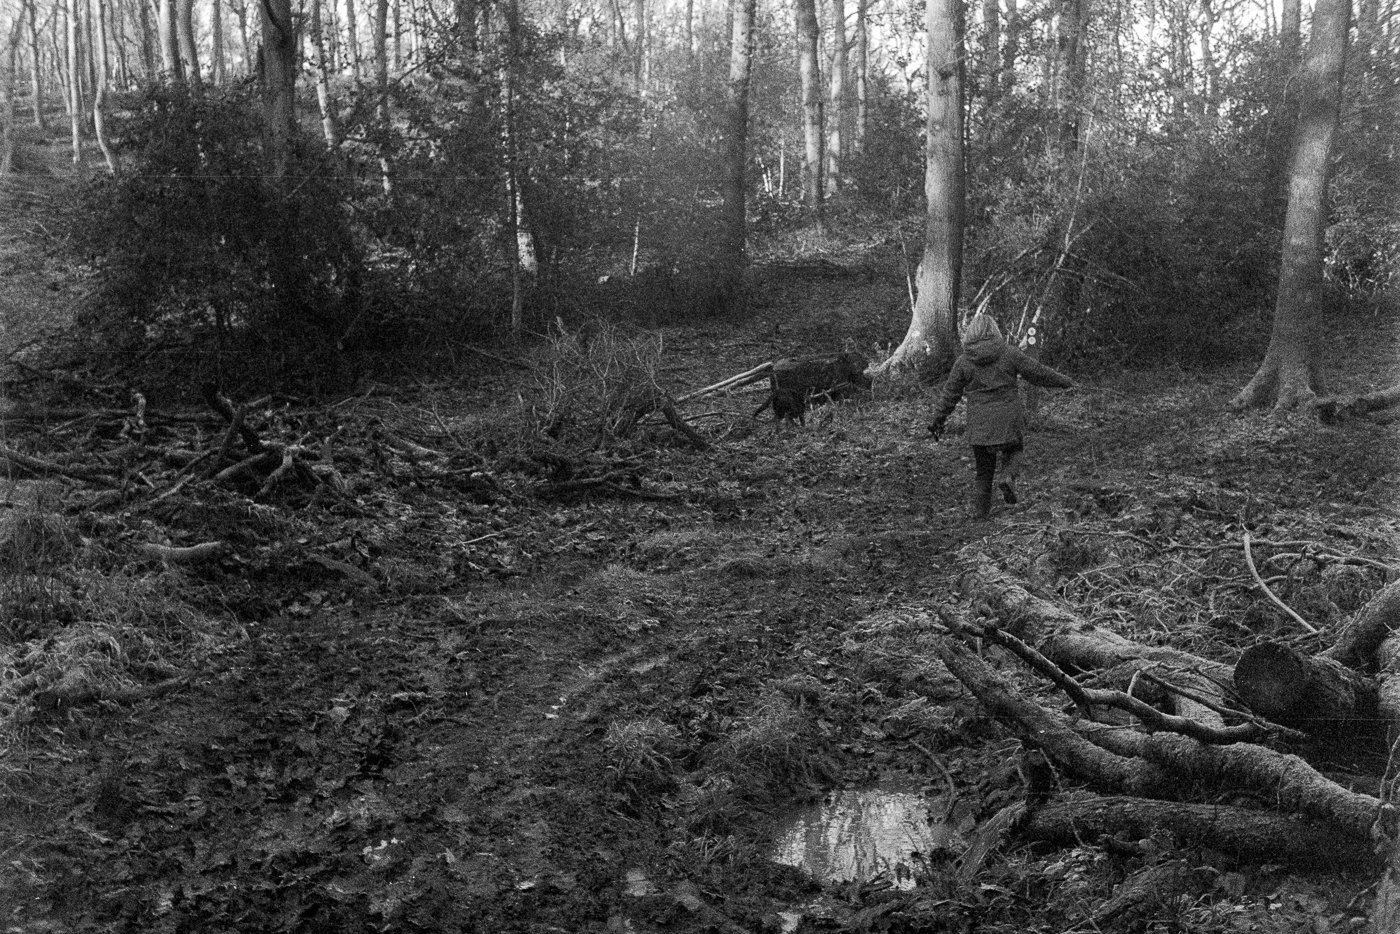
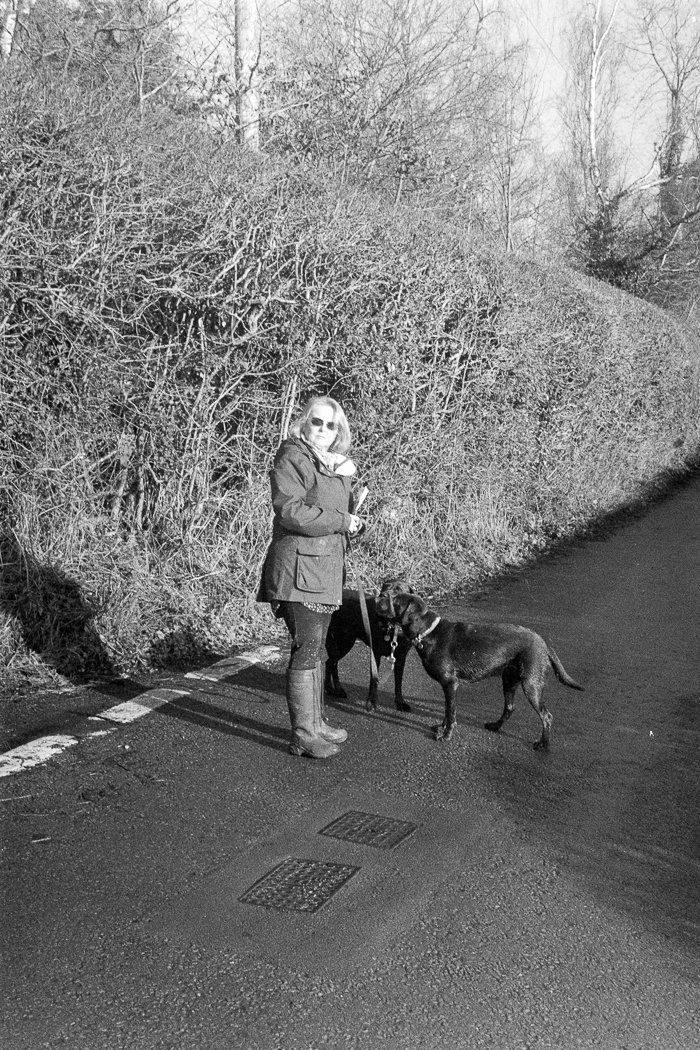
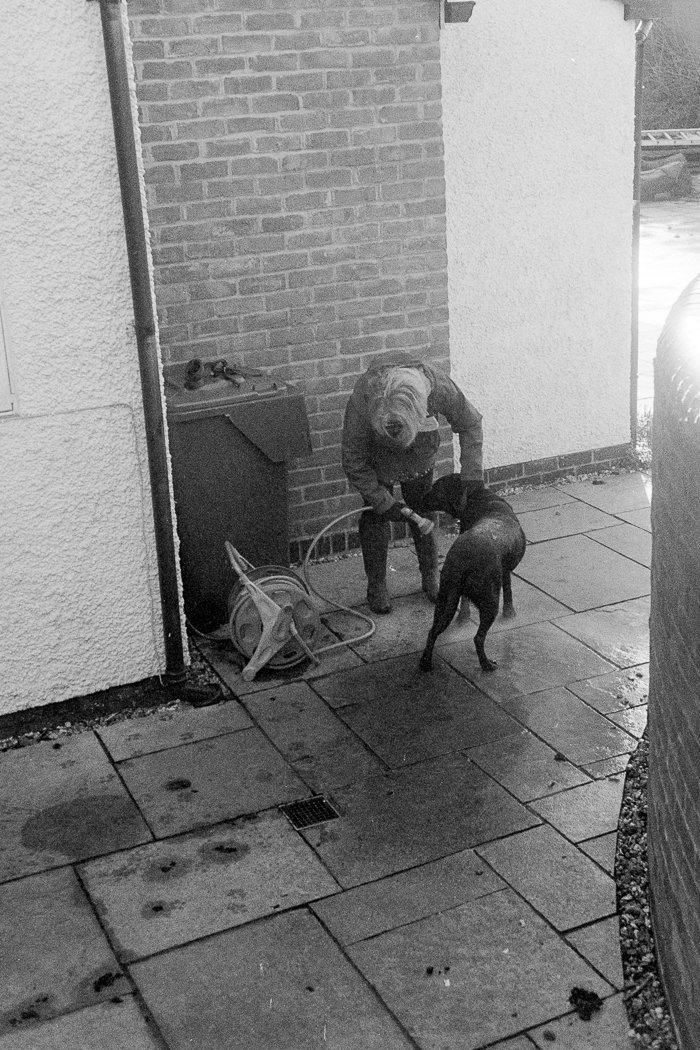
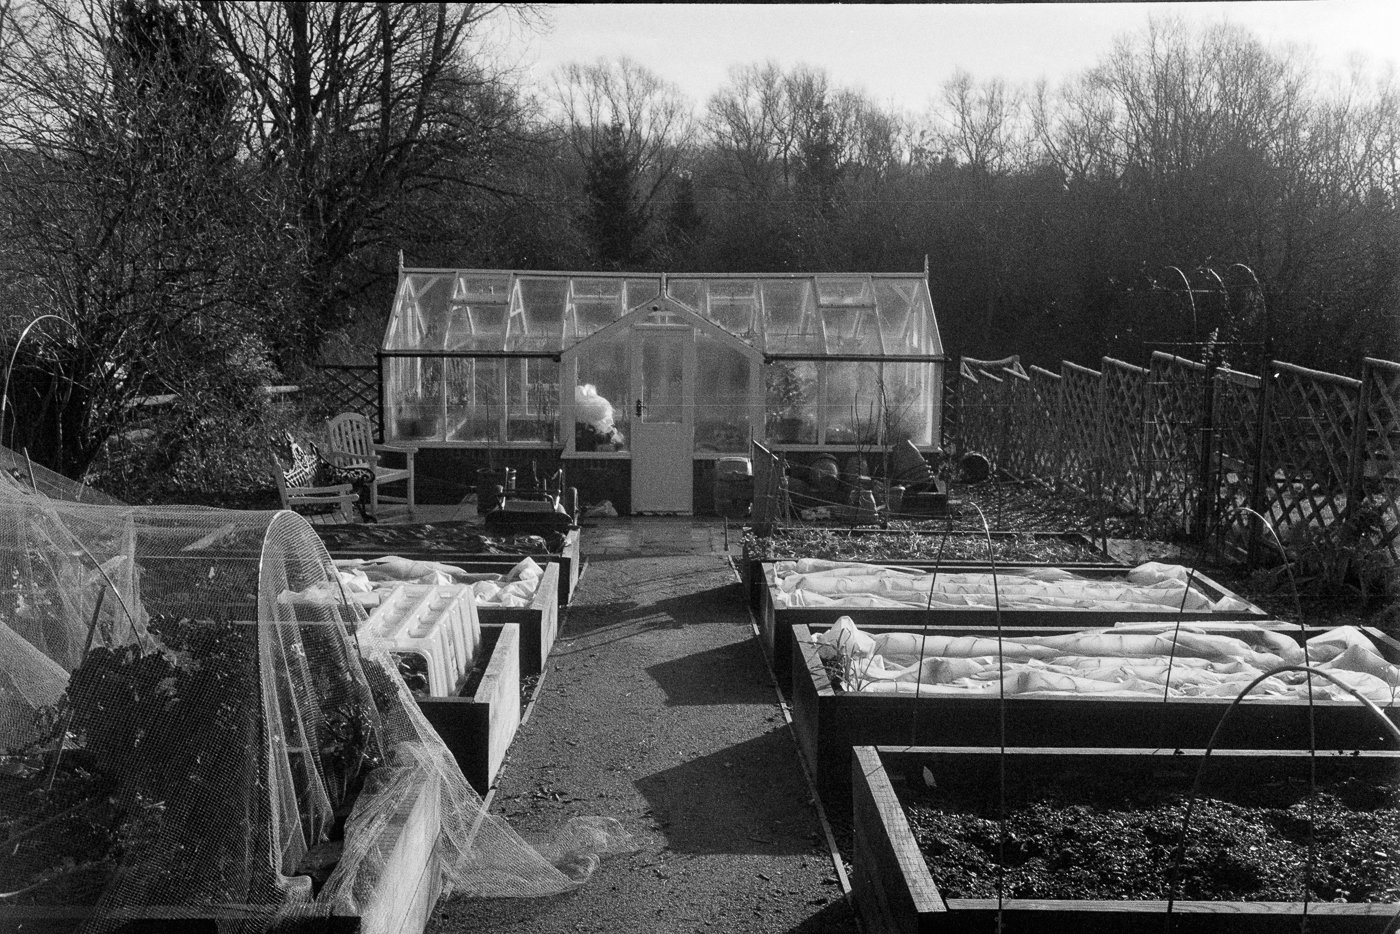
Edit: some phots taken with this camera on a walk in the woods. The film is long-expired HP5 which is coming out rather too grainy for my tastes. I don’t know whether it’s the nature of HP5, the way I am developing it (Cinestill DF96 monobath) or the fact it is expired - or some combination of the three. I have ordered some newer film stock to experiment a bit…


New Gear…
New gear considered harmful…

I read an interesting article today on PetaPixel suggesting (I think a little tongue-in-cheek) that real creative photographers needed to keep buying new gear, because that’s what they needed to keep them excited, and if they were not excited they could not be creative.
Now, I’m as guilty as the next guy of buying gear that I don’t really need, but I don’t think I agree that doing so makes me more excited about my photography or more creative - if anything I suspect it has the reverse effect, and buying gear becomes almost an alternative to being creative and actually using the gear I have.
I’ve found a way to enjoy buying gear without it costing a fortune - which is to collect vintage camera gear. But that doesn’t help with the “being more creative” bit or indeed the “actually taking photographs” bit. So one of my goals for the new year is to get better at resisting the urge to get more gear* - even vintage gear, but especially new gear - and to get better at using the gear I already have. I’m going to start a project or two that should help.
Firstly, I am going to try to shoot (and develop and scan) one film every week, with a different vintage camera and/or lens. As I type that it occurs to me that I may not have 52 working vintage cameras/lenses, though I’m probably not far off…. I’m happy to repeat, once I have identified some favourites.
Secondly, I’m going to start a series of projects (themes) - haven’t decided the full list but “Reflections”, “Shadows”, and “Self-portraits” will do for starters - and try to shoot at least one image for at least one of them most days. At the end of the year I will then create a photo bool - one chapter per theme.
Finally, I’m going to be scanning some old slides and negatives to help solidify my thoughts on what photos retain their meaning for me when they are a few decades old…
*I will make an exception for an R1 if Canon release it

Tomorrow’s history
I have been playing a bit more with scanning negatives - old and new - to see whether my idea of shooting more film is going to be viable. Various technical conclusions - not especially interesting and probably not very surprising to anyone who has been doing this for a while - but also some deeper insights into photography and what makes a photograph important (to me) that I was not expecting.
Technical conclusions: I cannot detect any difference in the result from using +1 or -1 exposure compensation when I scan the negative, or indeed if I shoot +1,0,-1 and combine via HDR merge. The results after converting with NegativeLabPro are indistinguishable - probably because there’s less dynamic range in the negative than the digital sensor is capable of recording.
Deeper insights: Looking back at old negatives to decide what to scan, the ONLY ones I have any interest in are ones that contain people or places (but not landscapes) that I know - the ones that bring back memories of things that have since changed, or disappeared entirely. I’m not interested in old photos for their wonderful composition, beautiful colours, leading lines etc. I’m not especially bothered about detail, sharpness, story, nature, or themes. I’m interested in history.
Maybe I should be thinking more about capturing tomorrow’s history, when shooting today…

36 Exposures
36 exposures
Puddle
One of the things I enjoyed about taking an old film camera out with me on yesterday’s walk is that I knew when I set off – and with every shot that I took – that I was going to take no more than 36 exposures (actually, I thought it was a 24-exposure film) and so I had to make every one count – but also that I wanted to use up the whole film (so I could develop it) and therefore had to find 36 things to photograph.
I don’t want to shoot a roll of film every day (would start getting expensive apart from anything else) – perhaps once a week – but it did get me thinking whether the constraints provided by the 36-shot limit/target would be worth replicating when shooting digitally. So today I dug out an old 2Gb SD card and put it in my R5 for today’s walk.
Didn’t quite work out as I hoped – the limit was fine but there was no real pressure to fill the card, and I didn’t. It was also hard to get out of the habit of taking a few shots at each ‘scene’ just to try to increase the odds of getting “the moment”. But I did come back with 19 shots…

Time to scan some film
Time to scan some film
The field by the wood
Yesterday I did something I have not done for 40 years – I developed a roll of film!
Today I scanned it.
A bit of a learning curve to be climbed here, and I made lots of mistakes! Listed a few here to remind myself not to make them again…
Try to keep the shots in order when scanning them. Otherwise when importing into Lightroom they will be in a random order!
Take a few seconds to get the alignment right in the slide scanner saves a lot of time later in the Lightroom crop tool
While you CAN handle monochrome negatives in LightRoom using an inverted curve, NegativeLabPro gives better results more easily – worth the cost I think
Scans using a flatbed scanner with VueScan are no better, and take AGES
Don’t expect modern levels sharpness and contrast from scans of film that is 10 years out of date, taken on a 40-year-old camera by someone that has forgotten how to do manual exposure without a meter, or how to focus accurately on a rangefinder, developed by a novice.
My results are fairly grainy and low contrast, I suspect largely because I didn’t do a great job on the exposure (underexposed, mostly).
But the shots do have a certain character to them… my current thinking is to try to shoot a film every week using a variety of different vintage cameras from my collection.

New Year, New Blog
I’m thinking that it might be useful – mainly to my future self when I come to revisit a project that I last looked at a while ago – to be a bit more diligent at capturing the process and status of my various hobbies and projects. A cross between a journal for me to look back on and a set of notes to keep myself organised.
New Year’s Day seems like a good time to make a start on such a project – started off playing with a local WordPress installation but have now decided to move to SquareSpace. It’s possible that some of the workshop projects might be interesting to other people thinking of undertaking similar modifications, if only as an illustration of how NOT to do it!
I have a blog dedicated to my fellwalking at https://www.walkhighlands.co.uk/blogs/richardkchapman which should possibly migrate over here (or be copied here by way of a backup) in case that site ever goes away). I had a 365 project though I don’t seem to be able to find it any more! Did it go away when I didn’t renew my subscription? That sounds like another good reason to move to self-hosting here should I decide to repeat such a project.
Possible topics I may cover:
Workshop projects
Photography projects
Random bits of code
Arduino and other embedded projects
Fellwalking
etc etc.